Custom Properties
Custom Properties allow you to attach your own properties and values to any component version of your Fusion designs. This functionality differentiates 3 personas:
- Custom Property Admin: the owner of the APS app who creates the property definitions and organizes them into collections
- Fusion Hub Admin: the person who, using the Custom Property Admin’s app, can link a specific property definition collection to the hub they are the admin of
- End Users: the users of the hub that has a property definition collection linked to it. They can access these properties on all the component versions and modify their values
Now let’s go through each persona and see what they can do using the API.
Custom Property Admin
In order to create property definitions you need to create an APS app that will provide the credentials we need to use: Create App
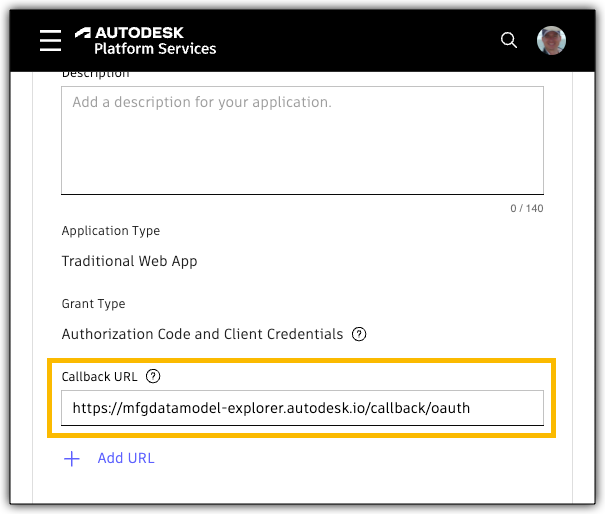
Make sure that the Callback URL of the app is set to https://mfgdatamodel-explorer.autodesk.io/callback/oauth
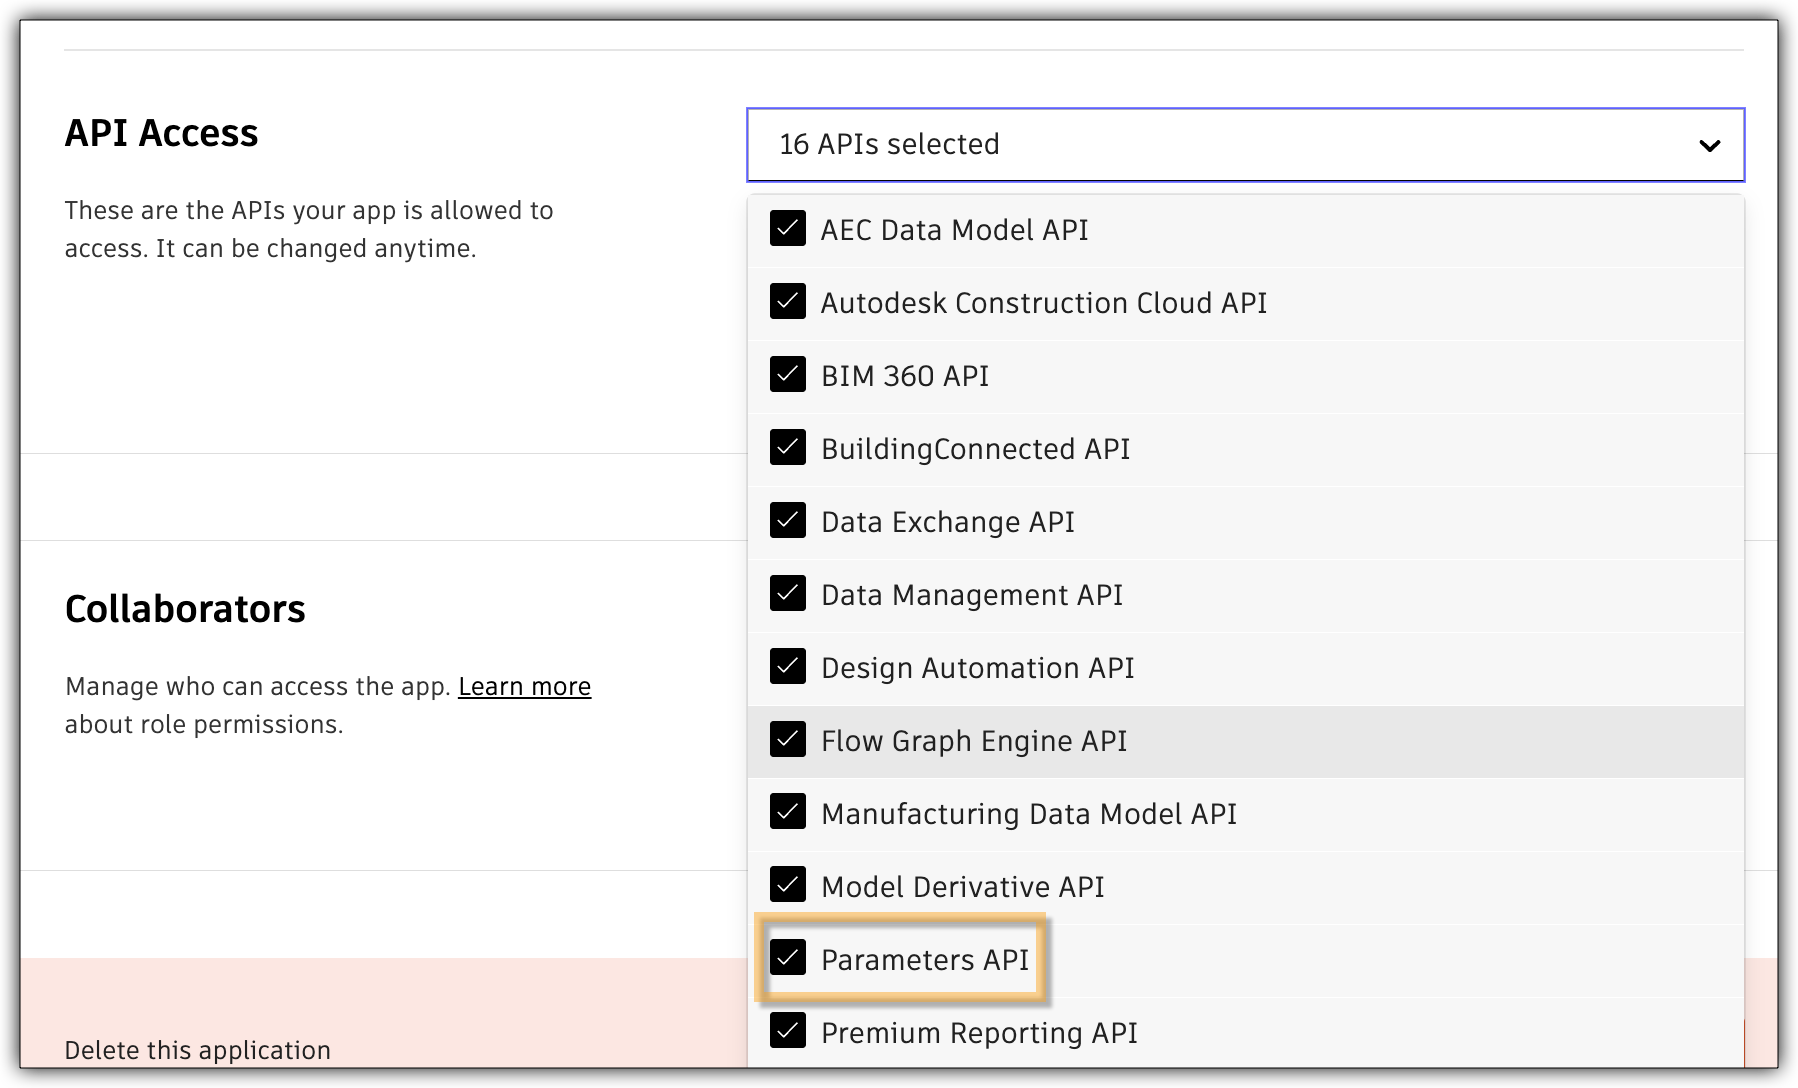
You also have to make sure that Parameters API is enabled for your APS application
Now just add these credentials in the Explorer by going on this page and providing those credentials for Client ID and Client Secret. Also, for APS endpoint you can use https://developer.api.autodesk.com and for GraphQL endpoint use https://developer.api.autodesk.com/beta/graphql

Create a property definition collection
First we need to create a collection that will hold the property definitions that we want to use in our hubs.
For the following operation you can either use 2-legged tokens, or the APS app’s owner needs to be logged in so that the 3-legged token is generated for them. Let’s just use a 2-legged token, which is simpler - see image:

mutation CreatePropertyDefinitionCollection($propDefCollectionName: String!, $description: String) {
  createPropertyDefinitionCollection(
    input: {name: $propDefCollectionName, description: $description}
  ) {
    propertyDefinitionCollection {
      id
      name
      description
    }
  }
}
{
  "propDefCollectionName": "my_test_collection",
  "description": "collection description"
}
Create a property definition in the collection
Now we can create property definitions inside this collection
mutation CreateDynamicAtVersionPropertyDefinition($input: CreatePropertyDefinitionInput!) {
  createPropertyDefinition(input: $input) {
    propertyDefinition {
      id
      name
      specification
      isHidden
      isReadOnly
      shouldCopy
      isArchived
      description
      propertyBehavior
      units {
        id
        name
      }
    }
  }
}
{
  "input": {
    "propertyDefinitionCollectionId": "NEWLY CREATED COLLECTION'S ID HERE!",
    "name": "material length",
    "specification": "STRING",
    "description": "description of this property",
    "propertyBehavior": "DYNAMIC",
    "shouldCopy": true
  }
}
Fusion Hub Admin
Once we have a collection, the Custom Property Admin needs to provide an app that the Hub Admins can use to link a specific collection to their hub. For the following operation the Hub Admin needs to be logged in the Explorer.
Make sure you are not using 2-legged tokens for these operations

Link collection to our hub
mutation LinkPropertyDefinitionCollection($propertyDefinitionCollectionId: ID!, $hubId: ID!) {
  linkPropertyDefinitionCollection(
    input: {propertyDefinitionCollectionId: $propertyDefinitionCollectionId, hubId: $hubId}
  ) {
    hub {
      id
      propertyDefinitionCollections {
        results {
          id
          name
          definitions {
            results {
              id
              name
            }
          }
        }
      }
    }
  }
}
{
  "propertyDefinitionCollectionId": "NEWLY CREATED COLLECTION'S ID HERE!",
  "hubId": "YOUR HUB ID HERE!"
}
Get collections linked to our hub
You can easily verify which collections have been linked to your hub by running the following query:
query GetLinkedCollections($hubId:ID!) {
  hub(hubId: $hubId) {
    propertyDefinitionCollections {
      results {
        name
      }
    }
  }
}
{
  "hubId": "YOUR HUB ID HERE!"
}
End Users
After going through the above steps, the custom property we just created should be available for all our designs. Now we can just use a component version id, e.g. the one we used for getting a thumbnail, and use that here to set the value of our property.
Set custom property value
mutation SetDynamicProperty($input: SetPropertiesInput!) {
  setProperties(input: $input) {
    targetId
    properties {
      value
      displayValue
      definition {
        id
        name
        specification
        isHidden
        isReadOnly
        isArchived
        description
        propertyBehavior
        units {
          id
          name
        }
      }
    }
  }
}
{
  "input": {
    "targetId" : "COMPONENT VERSION ID HERE!",
    "propertyInputs": [
      {
        "propertyDefinitionId" : "NEWLY CREATED PROPERTY DEFINITION'S ID HERE!",
        "value": "surface length"
      }
    ]
  }
}
Get custom property value
We can double-check if we managed to set the value correctly.
query GetCustomProperties($componentVersionId:ID!) {
  componentVersion(componentVersionId: $componentVersionId) {
    id
    name
    customProperties {
      results {
        name
        value
      }
    }
  }
}
{
  "componentVersionId": "COMPONENT VERSION ID HERE!"
}
Demo App
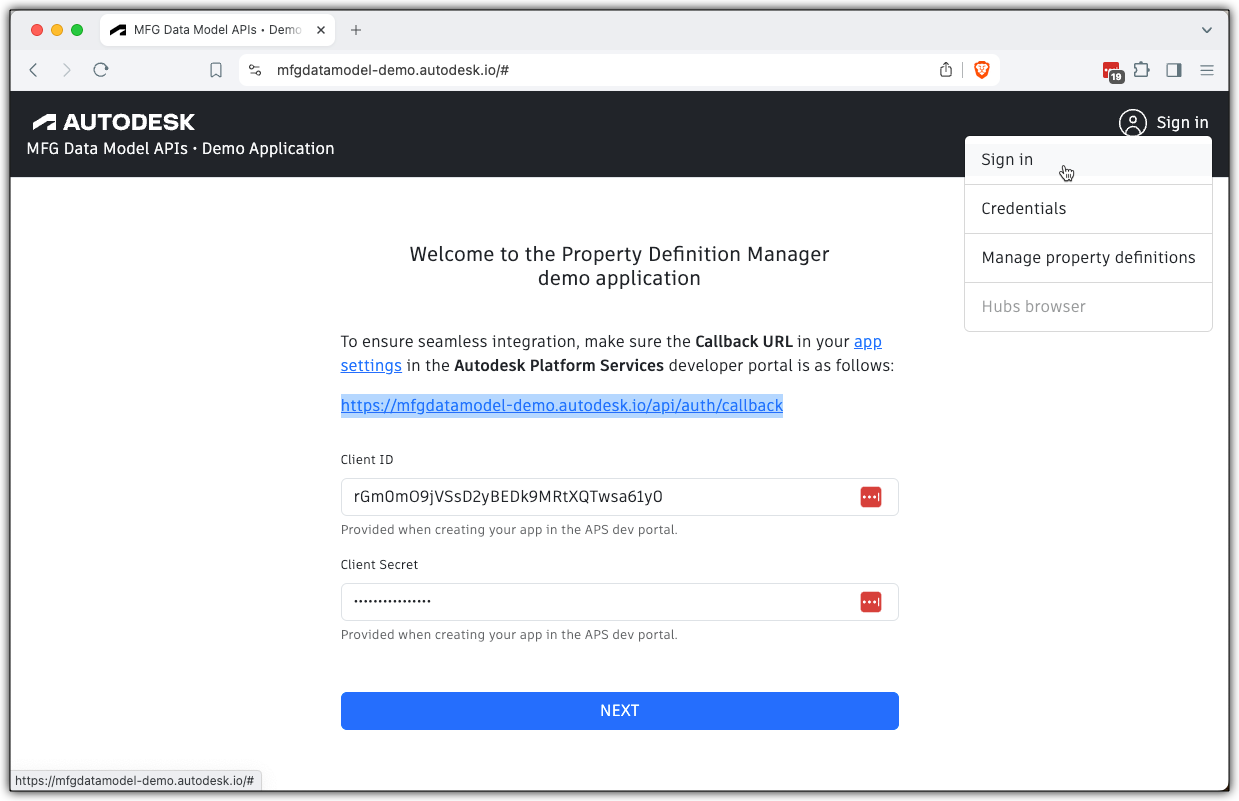
We created a demo app that can help with the work of all 3 personas listed above.
You just have to provide your app’s credentials, making sure that its Callback URL contains https://mfgdatamodel-demo.autodesk.io/api/auth/callback
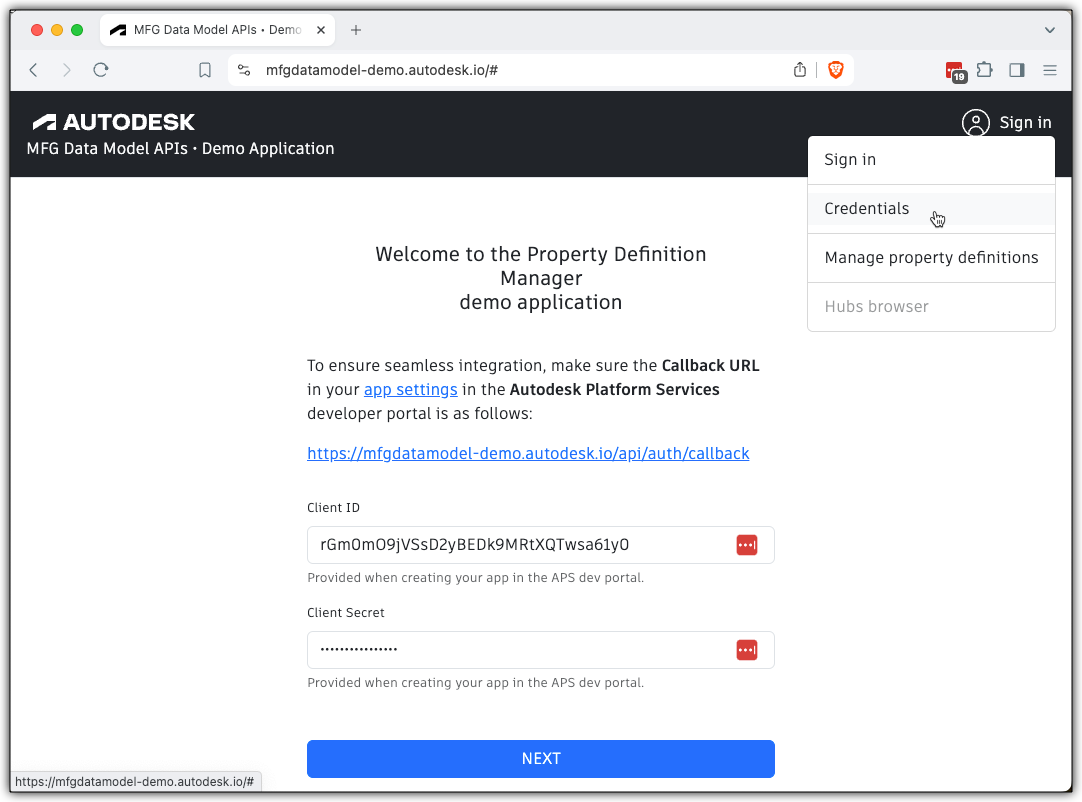
Then you can manage your property definitions and collections:
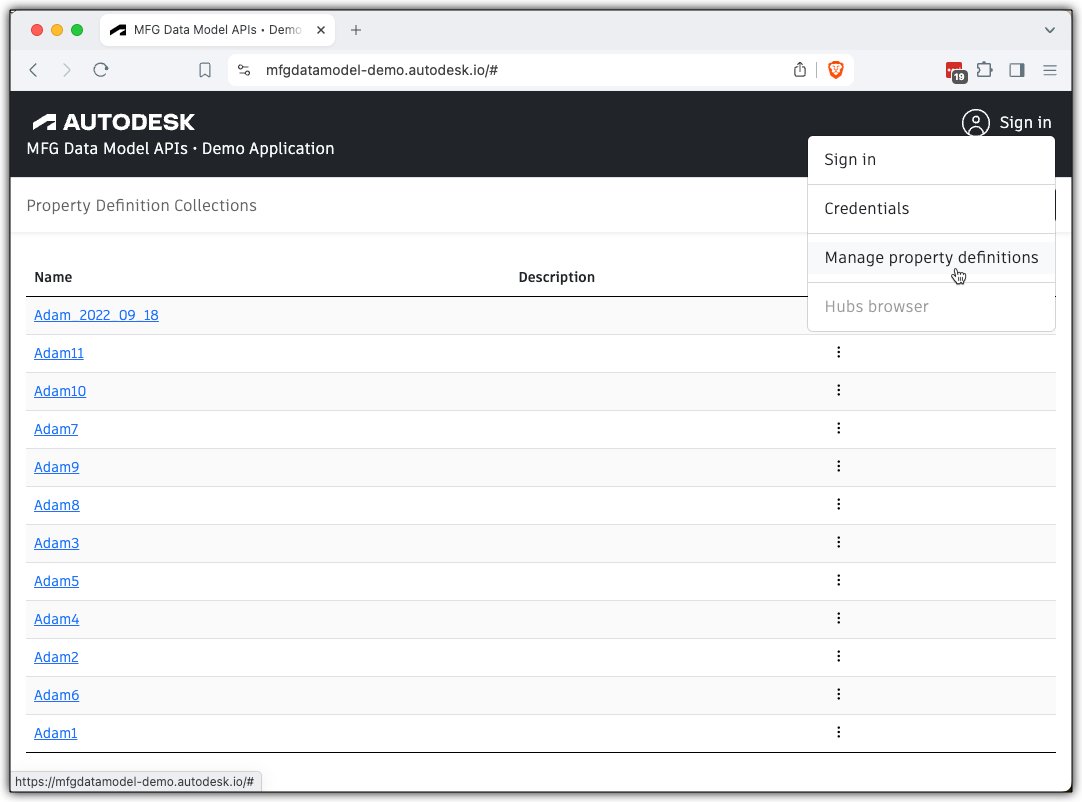
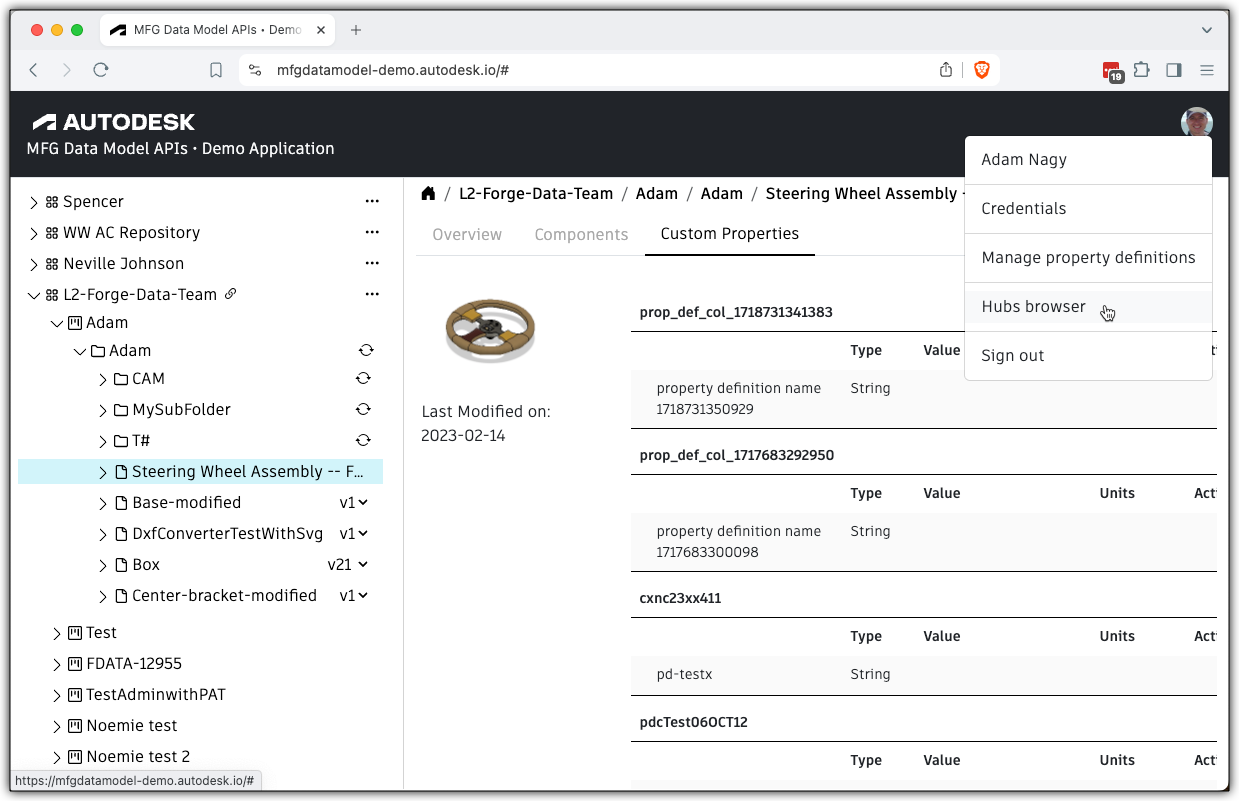
In order to list all the hubs you have access to, link property definition collections to them, assign properties to component versions, you need to log in:
Then you can check the Hubs browser:
It’s live here: https://mfgdatamodel-demo.autodesk.io/
We’ve covered many possible scenarios enabled by MFG Data Model API. Now you know enough to start experimenting with your custom workflows on your designs. We also have a few samples with live demos and source code available for you to leverage.
MFG Data Model Explorer source code